Quickstart 🔥
Let's add a new slide to FlutterShow.
Creating a new slide
- When you first explore the project, you'll find some sample slides that demonstrate how slides are built in this project.
- To create a new slide, add a new widget in the
lib/slidesdirectory. - Create a new folder. Lets call it
07_credits - Now create a folder called
viewto store our finished slide there. Also create awidgetsfolder if you may create multiple widgets for your slide. - Now create your slide as you like. For demo purposes here a slide you can copy:
class CreditsSlide extends ConsumerWidget {
const CreditsSlide({super.key});
Widget build(BuildContext context, WidgetRef ref) {
final controller = ref.watch(presentationController);
return DecoratedBox(
decoration: BoxDecoration(
gradient: FSGradients.dynamicBackground(controller.brightness),
),
child: Stack(
children: [
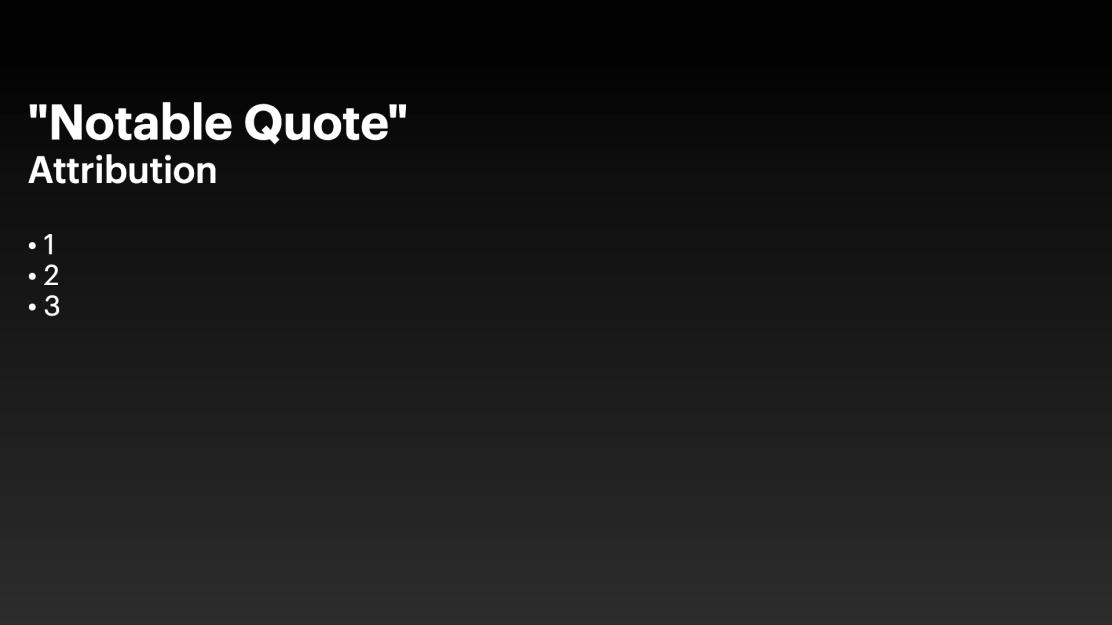
KeynoteTitleAndBulletsSlideVariants.variantTwo(
titleText: '"Notable Quote"',
subTitleText: 'Attribution',
bulletPoints: ['1', '2', '3'],
),
],
),
);
}
}
🎉 Tada you made your first slide 🎉

Adding the slide into the project
- Once you finish creating your slide, navigate to
lib/presentation/config/pages_of_presentation.dartand add a new member to the enum using your new widget. - Reload the app, and your slide will appear in all its glory! 🔥
Animating your slides
Using the animationIndex
- Now that you created your first slide and are able to see it, it would be cool if its animated.
- First navigate back to
lib/presentation/config/pages_of_presentation.dartand set the items to 5. Since we have a title + subtitle and three bullet points that adds up to 5 elements, so we need to set it to 5. - In order to get the current animation index we need to get if from the
presentationController. - That's it! Your slide will now be animated, try clicking through it.
class CreditsSlide extends ConsumerWidget {
const CreditsSlide({super.key});
Widget build(BuildContext context, WidgetRef ref) {
final controller = ref.watch(presentationController);
return DecoratedBox(
decoration: BoxDecoration(
gradient: FSGradients.dynamicBackground(controller.brightness),
),
child: Stack(
children: [
KeynoteTitleAndBulletsSlideVariants.variantTwo(
titleText: '"Notable Quote"',
subTitleText: 'Attribution',
bulletPoints: ['1', '2', '3'],
animationIndex: controller.animationIndex
),
],
),
);
}
}
There's more!
- What if you could also animate the way the presentation is animated ?
- Just pass in an animationArgument. In this case we will use the
Animations.directionalAnimation.
class CreditsSlide extends ConsumerWidget {
const CreditsSlide({super.key});
Widget build(BuildContext context, WidgetRef ref) {
final controller = ref.watch(presentationController);
return DecoratedBox(
decoration: BoxDecoration(
gradient: FSGradients.dynamicBackground(controller.brightness),
),
child: Stack(
children: [
KeynoteTitleAndBulletsSlideVariants.variantTwo(
titleText: '"Notable Quote"',
subTitleText: 'Attribution',
bulletPoints: ['1', '2', '3'],
animationIndex: controller.animationIndex
animationArguments: AnimationArguments(
Animations.directionalAnimation,
delay: 100,
direction: DirectionalAnimationDirection.bottom,
animationCurve: Curves.easeIn,
),
),
],
),
);
}
}
🎉 And its done 🎉
Now you have created a new slide, added it to the presentation and animated it. The only thing left is to check out which kind of slides and components are available. Have fun!